Sunday, November 8, 2020

FTU Cluster Ice Queen

 Made this cluster with a PTU Scrapkit by Gothic Inspirations called Ice Queen. 

Unfortunately I couldn't find the kit on her store.  

Here store is GOTHIC INSPIRATIONS 

click on the cluster to enlarge before saving.


Monday, June 22, 2020

Polkadoodles ~ Sea World FTU Tut

PDSeaWorldA i

PDSeaWorldBIrisBuzzy

PDSeaWorldCIrisBuzzy


Supplies
FTU Kit ~ by GOF called Sea World

Mask MPM 27

Font I used is Margetha 

Avatar - Open canvas 150 x 175
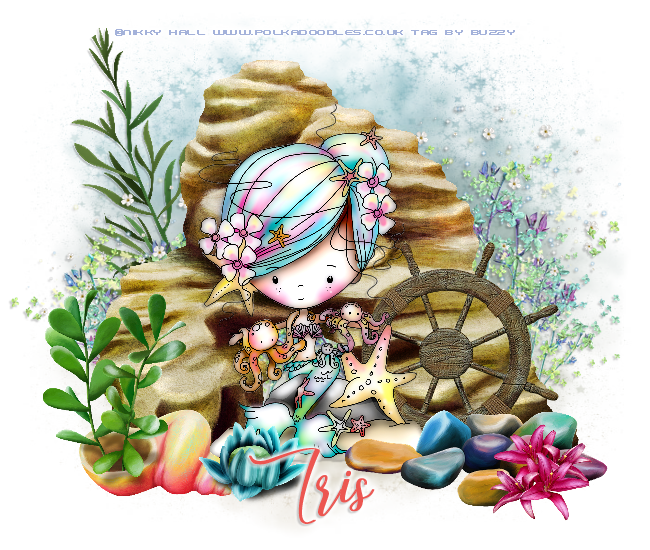
Tag - Open canvas 650 x 550
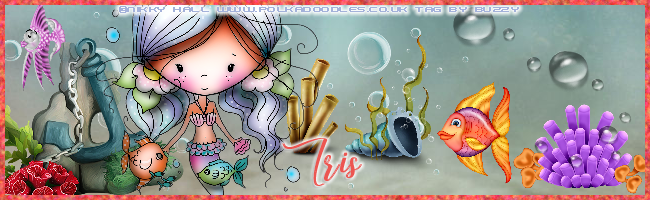
Banner - Open Canvas 650 x 200

I used 3 Polkadoodle images by Nikky Hall

for mask layer on tag and background on the avatar and banner I used paper 1.
When I open an element or paper, I also duplicate Shift D and x out the original. 

Avatar  
Copy and paste the paper and resize 40 percent
Add the tube resize 
Add element 44 bubbles 
I left it the same size on top of the tube

to do the border on the avatar move down to your bottom layer
go to Selections - Select All - Modify - contract by 4
Selections - Invert, go to Layer - add a new raster layer
flood fill with the color you want the border
then go to selections - select none
Then move that layer up to the top,that's your border.

Tag 
Copy and past the paper 1 to your canvas.
I open my mask and duplicate it Shift D and x out the original mask
Now go up to Layers - New Mask Layer - from image 
find the layer for your mask and apply it
merge mask layers.
Add Element 23 - Resize 90% place to the left
Add element 104 - resize 90%
Add Element 88 rock arch don't resize
Add your tube - Resize I resized the PD tube 25%
and used Porcelain on it, small dropshadow 2  -2  20  2.00
I used a small dropshadow on all the elements as I place them too.
Add Element 99 pepples/rocks - resize 50%
Add Element 32 Wheel - resize 50%
Add Element 98 Shell - Resize 40% place to left
Add Element 9 Blue flower - Resize 40%
Add Element 8 Pink flower - Resize 35%
Add your copyright and save your work

Banner

Add your paper 1
Add element 104 above the paper layer -  resize 90%
Add Element 44 Bubbles - duplicate and place them 
one around center and one towards the left of banner
Add Element 10 - resize 25% place towards center
Add Element 60 - Resize 25% place towards bottom right
Add Element 65 Orange fish - Resize 20% place
Add Element 73 - Bubbles - resize 40% place towards right
Add Element  21 - Resize 40% Shell with weeds and bubbles place towards center
Add Element 77 - Resize 20% purple fish place to the left
Add Element 36 - Resize 40% place to the left bottom area
Add your tube and place where you want it, resize
I used PD tube and resized 25%, filter porcelain and dropshadow
add drop shadow to all your elements and add your border and copyright.
Border for Banner
move down to your bottom layer
go to Selections - Select All - Modify - contract by 5
Selections - Invert, go to Layer - add a new raster layer
flood fill with the color you want the border
then go to selections - select none
Then move that layer up to the top,that's your border.
save your work.

I hope this tut is easy to follow.  
Thanks for looking.


Sunday, June 21, 2020

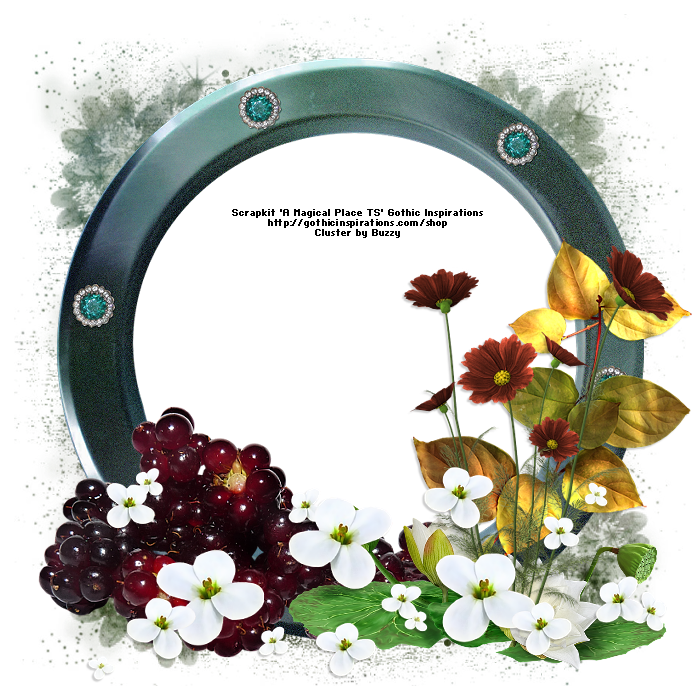
A Magical Place Cluster FTU

Scrapkit can be found at Gothic Inspirations

GI AMagicalPlace Cluster

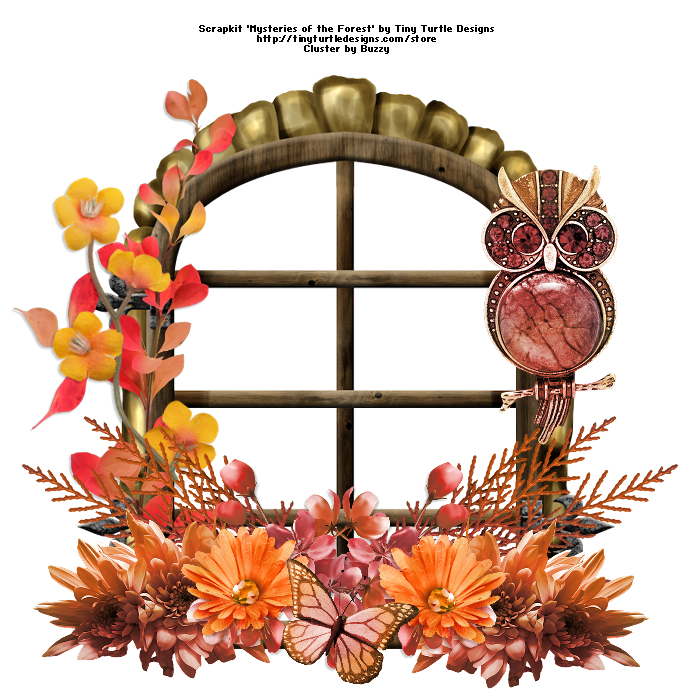
FTU MYSTERIES OF THE FOREST CLUSTER

TTD MysteriesOfTheForest Cluster

Scrapkit can be found at Tiny Turtle Designs

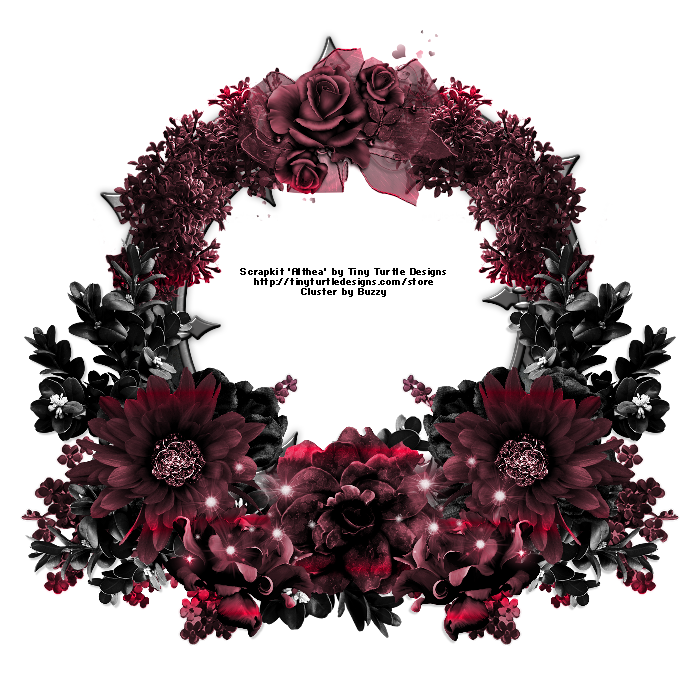
FTU Cluster

PTU scrapkit by Tiny Turtle Designs
Kit SCRAPKIT


TTD Althena Cluster

Callas

VMCallasIrisBuzzy

TUTORIAL 
Callas

Miz Mask 269 HERE
FTU Kit GOF Designs Callas  HERE
Font Aquarelle
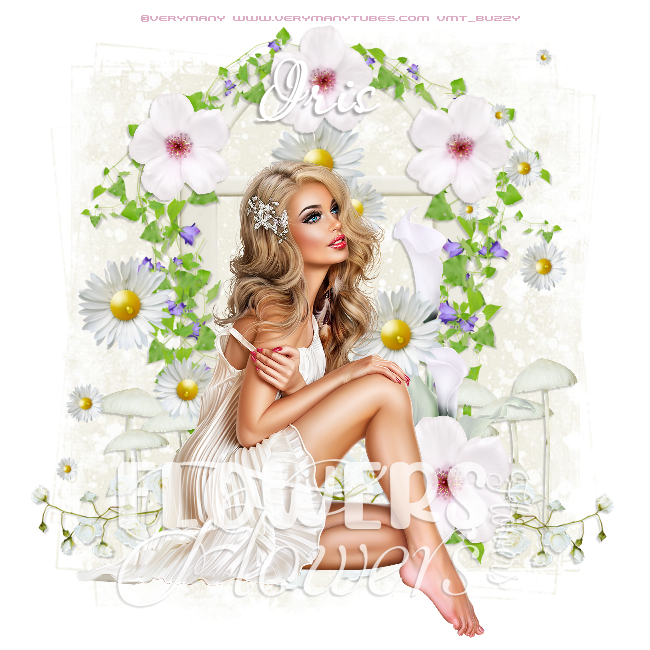
Verymany tube called Luciana (resized 40%)
I used drop shadow 2 -2 20 2.00 for all elements
and on the tube.
wordart
FlowerWordartByBuzzy

Open a new canvas 650 x 650
flood fill with white
go to layers, new raster layer and then go to selections, select all
copy and paste into selection Paper 2, select none
then go to Layers, new mask layer from image, apply mask

Now to start with the elements.
Open element 55, the window, place where you want it
Open element 50, the Ivy, duplicate and mirror, place
it on top of the window frame to your liking.
Open element 88, mushrooms, resize 40%
place towards the bottom of the canvas, layer duplicate, then
mirror.  You now have two mushrooms opposite each other
Open element 76 place slightly to the right a bit above the mushrooms.
Open Element 84, flowers, resize 80%, duplicate and mirror
Open Element 79 daisies, don't resize place towards bottom
of window frame
Open element 33, resize 20%, duplicate 2 times place towards
top of window frame, one on each side and one in center.
Open element 33 again, resize to 25%, place towards bottom right.
Place your tube and add your copyright.  then add the word art provided
towards bottom of your tag and lower the opacity to 70 percent.
to lower the opacity, double click on the layer in your palate and it will show
the layer properties, drop down arrows there to lower the number from 100 to 70.
don't forget to save your image
if you prefer the image saved without the white background, x out the bottom
layer and save image as png.

Sunday, August 19, 2012

FTU Tut - PFD Exclusive Siggy Set

Aug. 19th

PFD Exclusive Siggy Set


Thanks for dropping by.  I made a siggy set using an
exclusive tube from Pics For Design HERE and a FTU scrapkit by Kristin
called No More Drama. HERE I hope you can understand these instructions, I will
try and make them as easy as possible to follow, explaining each step as
much as possible.  Have fun.

Open a blank image 600w x 250h, flood fill with white.  I also work on the
avatar the same time as the siggy so you can also open an image 150 x150,
flood fill with white too. 

Remember whenever you open an element, paper etc, always
shift d to duplicate it, x out the original.
you can use any elements, scraps, etc that you prefer
this is just a guide, make it your own.  Have fun.

Open from the scrapkit - Disco Ball
copy and paste it onto your canvas.
Resize 80 %, Place towards the right side
of your canvas, duplicate and mirror so that
they are almosting touching in the middle. 
duplicate one more and move this one in the center
then move it below the other 2 disco ball layers.  I then
merged these 3 balls to one layer.   Go to raster one,
bottom layer, go to selections, select all, float, defloat,
then highlight your disco ball layer, selections, invert, tap
delete key to get rid of the excess ball layer, select none.
Open star border element, copy and paste it onto your canvas.
resize - 55 % and move it up towards the right side of canvas.
Open Butterfly 1 - resize 20 % and place up on the right side
use the deform tool to rotate it a bit to the left.
Add dropshadow to the butterfly and stars - i use 2, -2, 30, 3.00
Now you can add your tube, resize to your liking, and position.
go to the ball layer, go to selections, select all, float, defloat,
highlight your tube layer, selections invert, tap delete, don't deselect yet
go to your stars layer and tap delete, this should get rid of excess
stars and tubes that are outside the tag layer.

leave the siggy for now and go to your avatar canvas.
copy and paste the disco ball, resise it 40 %.
copy and paste your tube and resize it to your liking
go to the bottom white layer, raster 1, selections, select all,
float, defloat, highlight the tube layer, selections, invert, tap the
delete key, then highlight the disco ball layer, tap delete, selections,
select none.  Add your copyright to avatar and siggy.
now we will make the borders on both.

go back to your siggy canvas, raster 1 layer
go to selections, modify, contract, by 8, click ok
selections, invert, layer new raster layer, move it to
the top of your layers, flood fill with color of choice
i used a purple to match the tag d727ce
then go to effects - texture effects - tiles
settings i used for the tile effects are:
Hexagon, color ff80ff (pink)
Tile Ang - 75
Tile Size - 8
BorderSize - 1
Smoothness - 25
Depth - 1
Ambience - 0
Shininess - 50
Angle - 315
Intensity - 50
Elevation - 30

selections, select none.

do the same for your avatar except when you contract,
use 5 instead of 8 for a smaller border.

now for the animation effects.

Siggy
close all layers except your disco ball layer and white layer
edit, copy merged, open animation shop and paste it as a new animation
duplicate this layer until you have 10 frames,
go to edit, select all, then go to Effects,  apply image effects and use
these settings:
Elapsed time is ticked
effect - underwater
Customize: - apply both
sunlight - 10
waterdepth - 10
click ok,
click ok again

view your animation to see if you like it.
for the avatar, I slowed the animation properties down by
going to Animation - frame properties - set display time at 15
but left the siggy one at 10.
keep all layers selected
go back to psp now and hide the bottom 2 layers and unhide
all the layers that you had closed.
go to edit, copymerged

back to animation shop
paste this as a new animation
then go to edit copy
then go to edit propagate paste
then working on your ten animated frame image,
go to edit, paste into selected frame, i always
zoom it in so i can position it correctly

now go view your animation to see if you like the
positioning etc.  I then save this image for a blank
naming it with your tag name and ani blank
I save it as a mng and a gif.  I always oversave my
blanks LOL.

do the same steps for your avatar and save your blanks

now you can add names by typing up the name, copying it
and paste it in animation shop as a new image, then go to
edit copy, and paste it into selected frame, it will go onto
all the frames.  if it doesn't, go to edit, propagate paste but
as we already used that for the top layers of the tag, it still
should be selected.

If you have any questions, email me at isweetcan59@hotmail.com
and I will try and help you out.  you can also email me your results
if you try my tut.  Have a nice day.

Did this set while I was writing the tut, used a different PFD tube